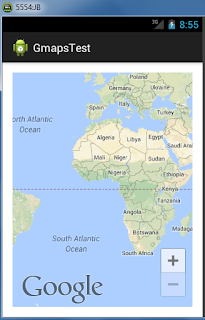
Lets see how to do this.
1. First create non Google API emulator and API level should be higher than 3.0 (I didn't check for older versions) Change the all other settings as you want. Here I have shown settings that I have used.
2. Download necessary apks.
- We want to install two apks on AVD to make it enable Google maps on the emulator.
- Download Google play services apk https://play.google.com/store/apps/details?id=com.google.android.gms use any apk down loader to download this apk Eg http://apps.evozi.com/apk-downloader/
- Download Google play store apk http://www.androidpolice.com/2013/08/13/download-latest-google-play-store-4-3-11-teardown/
- The most important thing is you have to have the latest distributions of these apks, other vice this will not work.
- To install apk on the emulator we need to use adb install command, make sure that the adb command is working on your system. If it is not for Windows, add the path of the Android platform tools directory to the Windows path. Then you should be able to run ADB commands.
- Start the newly created emulator using Android Virtual Device Manager.
- Open the windows command prompt and change the directory to where you downloaded the apks.
- Run the following command to install the Google play services apk on the emulator
adb install com.google.android.gms.apk - Here the red colored part is the package name that you are going to install make sure that this is same as the apk name you have downloaded.
- If the installation success you can see the Success message.
- Then follow the same steps to install the Google play store apk.
- Now the AVD is ready.
- Run your own project or the project created in my previous tutorial by selecting the appropriate emulator from project run configurations.


Good post machan
ReplyDelete